This app can be found in the cde directory of the example-app-configs repository.
- Actions — eleven actions handle everything from post-provision setup (installing Docker, VS Code Web, Claude Code) to day-2 ops (start/stop VM, add SSH keys) to automated healthchecks that run every 5 minutes
- Conditional inputs — inputs like
install_vscode_webandinstall_claude_codegate what gets installed; if VS Code Web is disabled, the ALB and ACM certificate are never created; if Claude Code is enabled, the Anthropic API key is injected into the customer’s shell environment on first boot - Policies — four OPA policies enforce guardrails on the Terraform plan, including blocking independent Elastic IP deletion and warning on oversized instance types
- README templating — the install page renders a live status view using Go templates that read action outputs, showing VM state, SSH reachability, and active connections without any external monitoring
- Cost controls — auto-stop cron jobs are installed on the VM at provision time, controlled entirely by install inputs
Prerequisites
- Signup for the self-service free trial. You will need a login and an org in Nuon’s cloud.
- Set up an AWS account. This is the account you will install the app in, as if you were a customer of the software vendor.
What You Will Create
This tutorial will walk you through creating the following:- An app
- A Terraform component to provision the EC2 instance, Elastic IP, DNS record, and security group
- Actions for post-provision setup and day-2 operations (start/stop VM, healthchecks)
- An install, using our AWS minimal sandbox
We recommend you clone the
example-app-configs
repository which includes the
cde app versus creating each config file manually. This guide is
meant to explain the concepts behind the config files, so you can
create your own apps in the future.Configure App
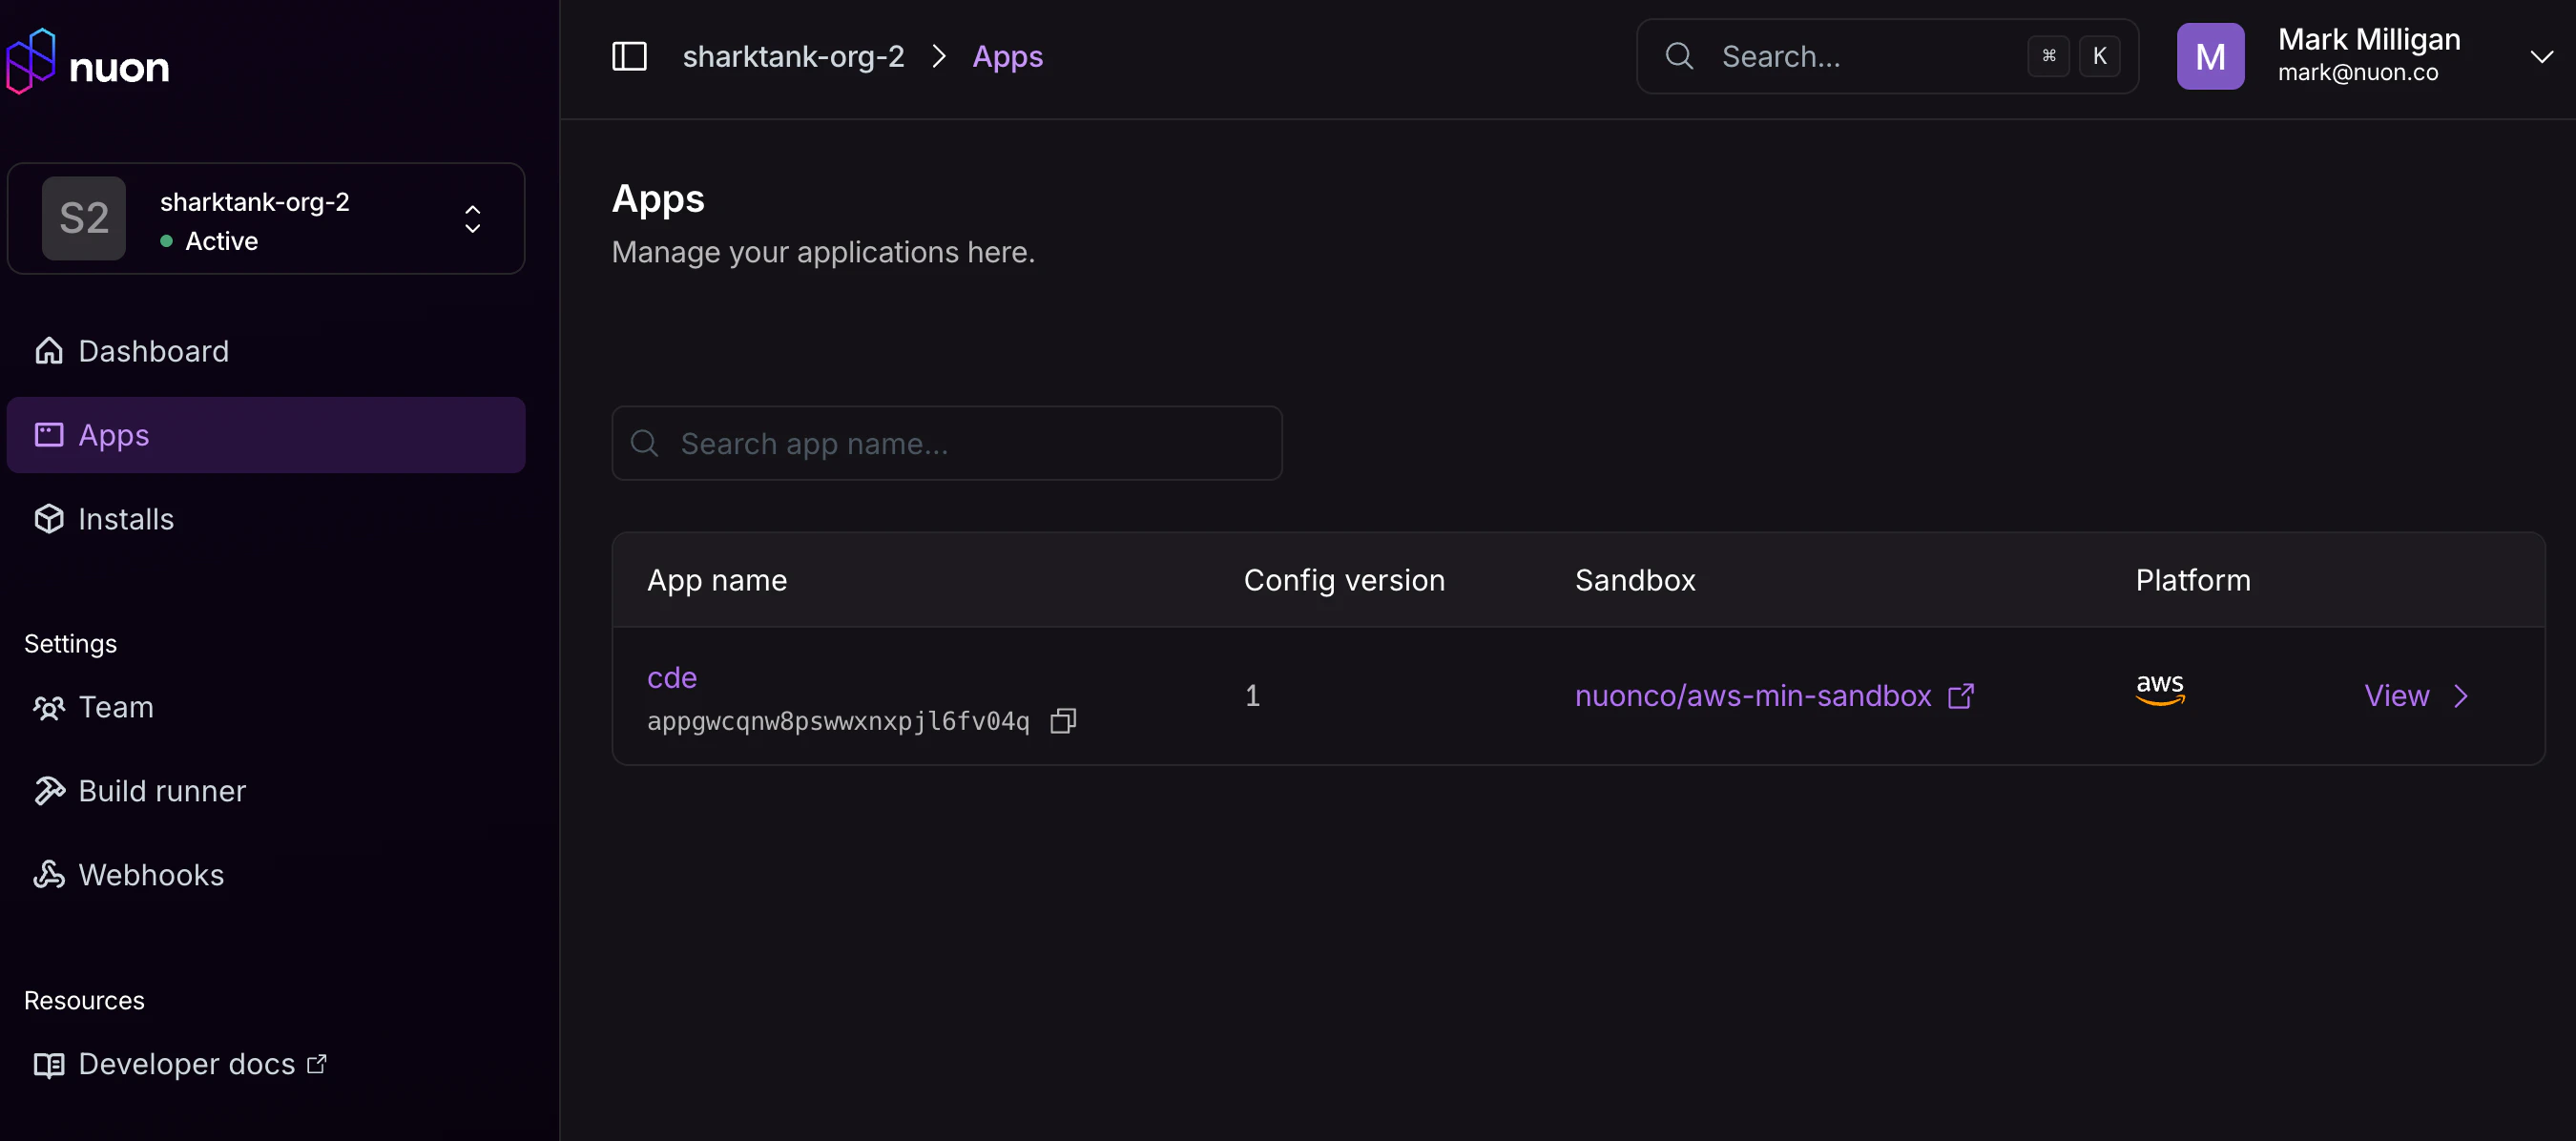
To configure the app, you will create several TOML config files. In each section below we will provide you with configuration snippets for the app itself as well as its components.Create App
Clone theexample-app-configs repository, cd into the cde directory,
and create the app in Nuon. This will create the app in app.nuon.co.
Inputs
Inputs are values passed into the install at creation time. There are two kinds:- Vendor inputs — set by the software vendor in the Nuon dashboard or CLI. These configure app-level defaults like OS choice, instance type, and which optional tools to install.
- Customer inputs (
user_configurable = true) — surfaced to the end customer when they apply the install stack. These are entered in the CloudFormation Quick-Create form or the customer portal. Examples include the SSH public key, git identity, and any secrets like the VS Code Web password or Anthropic API key.
inputs.toml:
inputs.toml
ssh_public_key (the public key used
to access the instance) and vscode_password (set it now so it is ready if VS Code Web is enabled
later). All other inputs have sensible defaults the customer can accept or override. Cost controls
default to shutting the VM down after 2 hours of inactivity and 4 hours of total uptime, keeping
idle cloud spend in check.

Sandbox
Nuon provides a set of Nuon Managed Sandboxes that can be used to provision the infrastructure needed for your app. Theaws-min-sandbox
is a lightweight sandbox for workloads that don’t require Kubernetes. It provisions
only the minimum shared infrastructure: an ECR repository for container images and
Route53 hosted zones for DNS. The VPC, subnets, and NAT gateway are already provided
by the install stack — the sandbox and your components build on top of them.
In the app root directory, notice the file named sandbox.toml:
sandbox.toml
enable_nuon_dns set to true, the sandbox creates a Route53 DNS zone for the install.
The install id is used as the subdomain, giving each install its own unique nuon.run domain.
Unlike some other example apps, this sandbox does not require any domain-related inputs — the
domain is derived entirely from the install id.
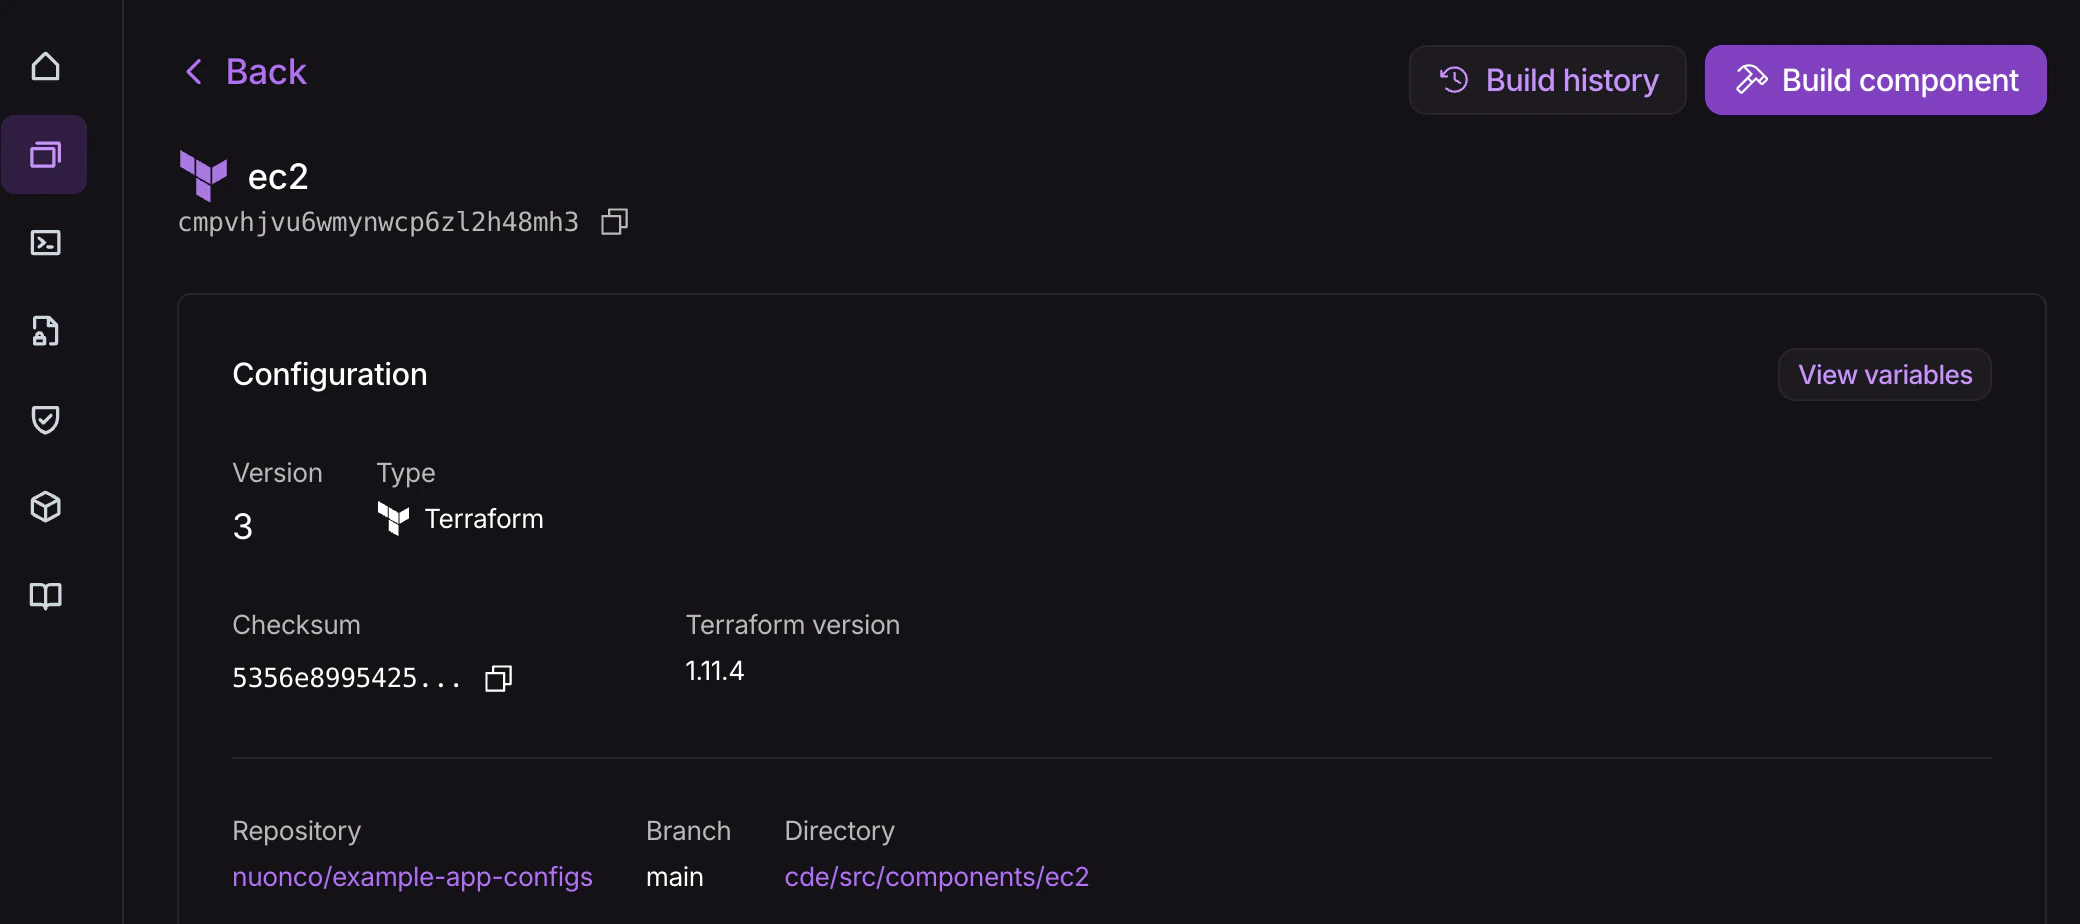
Components
Components are the building blocks of your app. This app has a single component: a Terraform module that provisions the EC2 instance along with its Elastic IP, Route53 A record, and security group. If VS Code Web is enabled, the component also creates an ALB and ACM certificate. In the app root directory, navigate to thecomponents directory. Notice the single file 1-ec2.toml:
1-ec2.toml
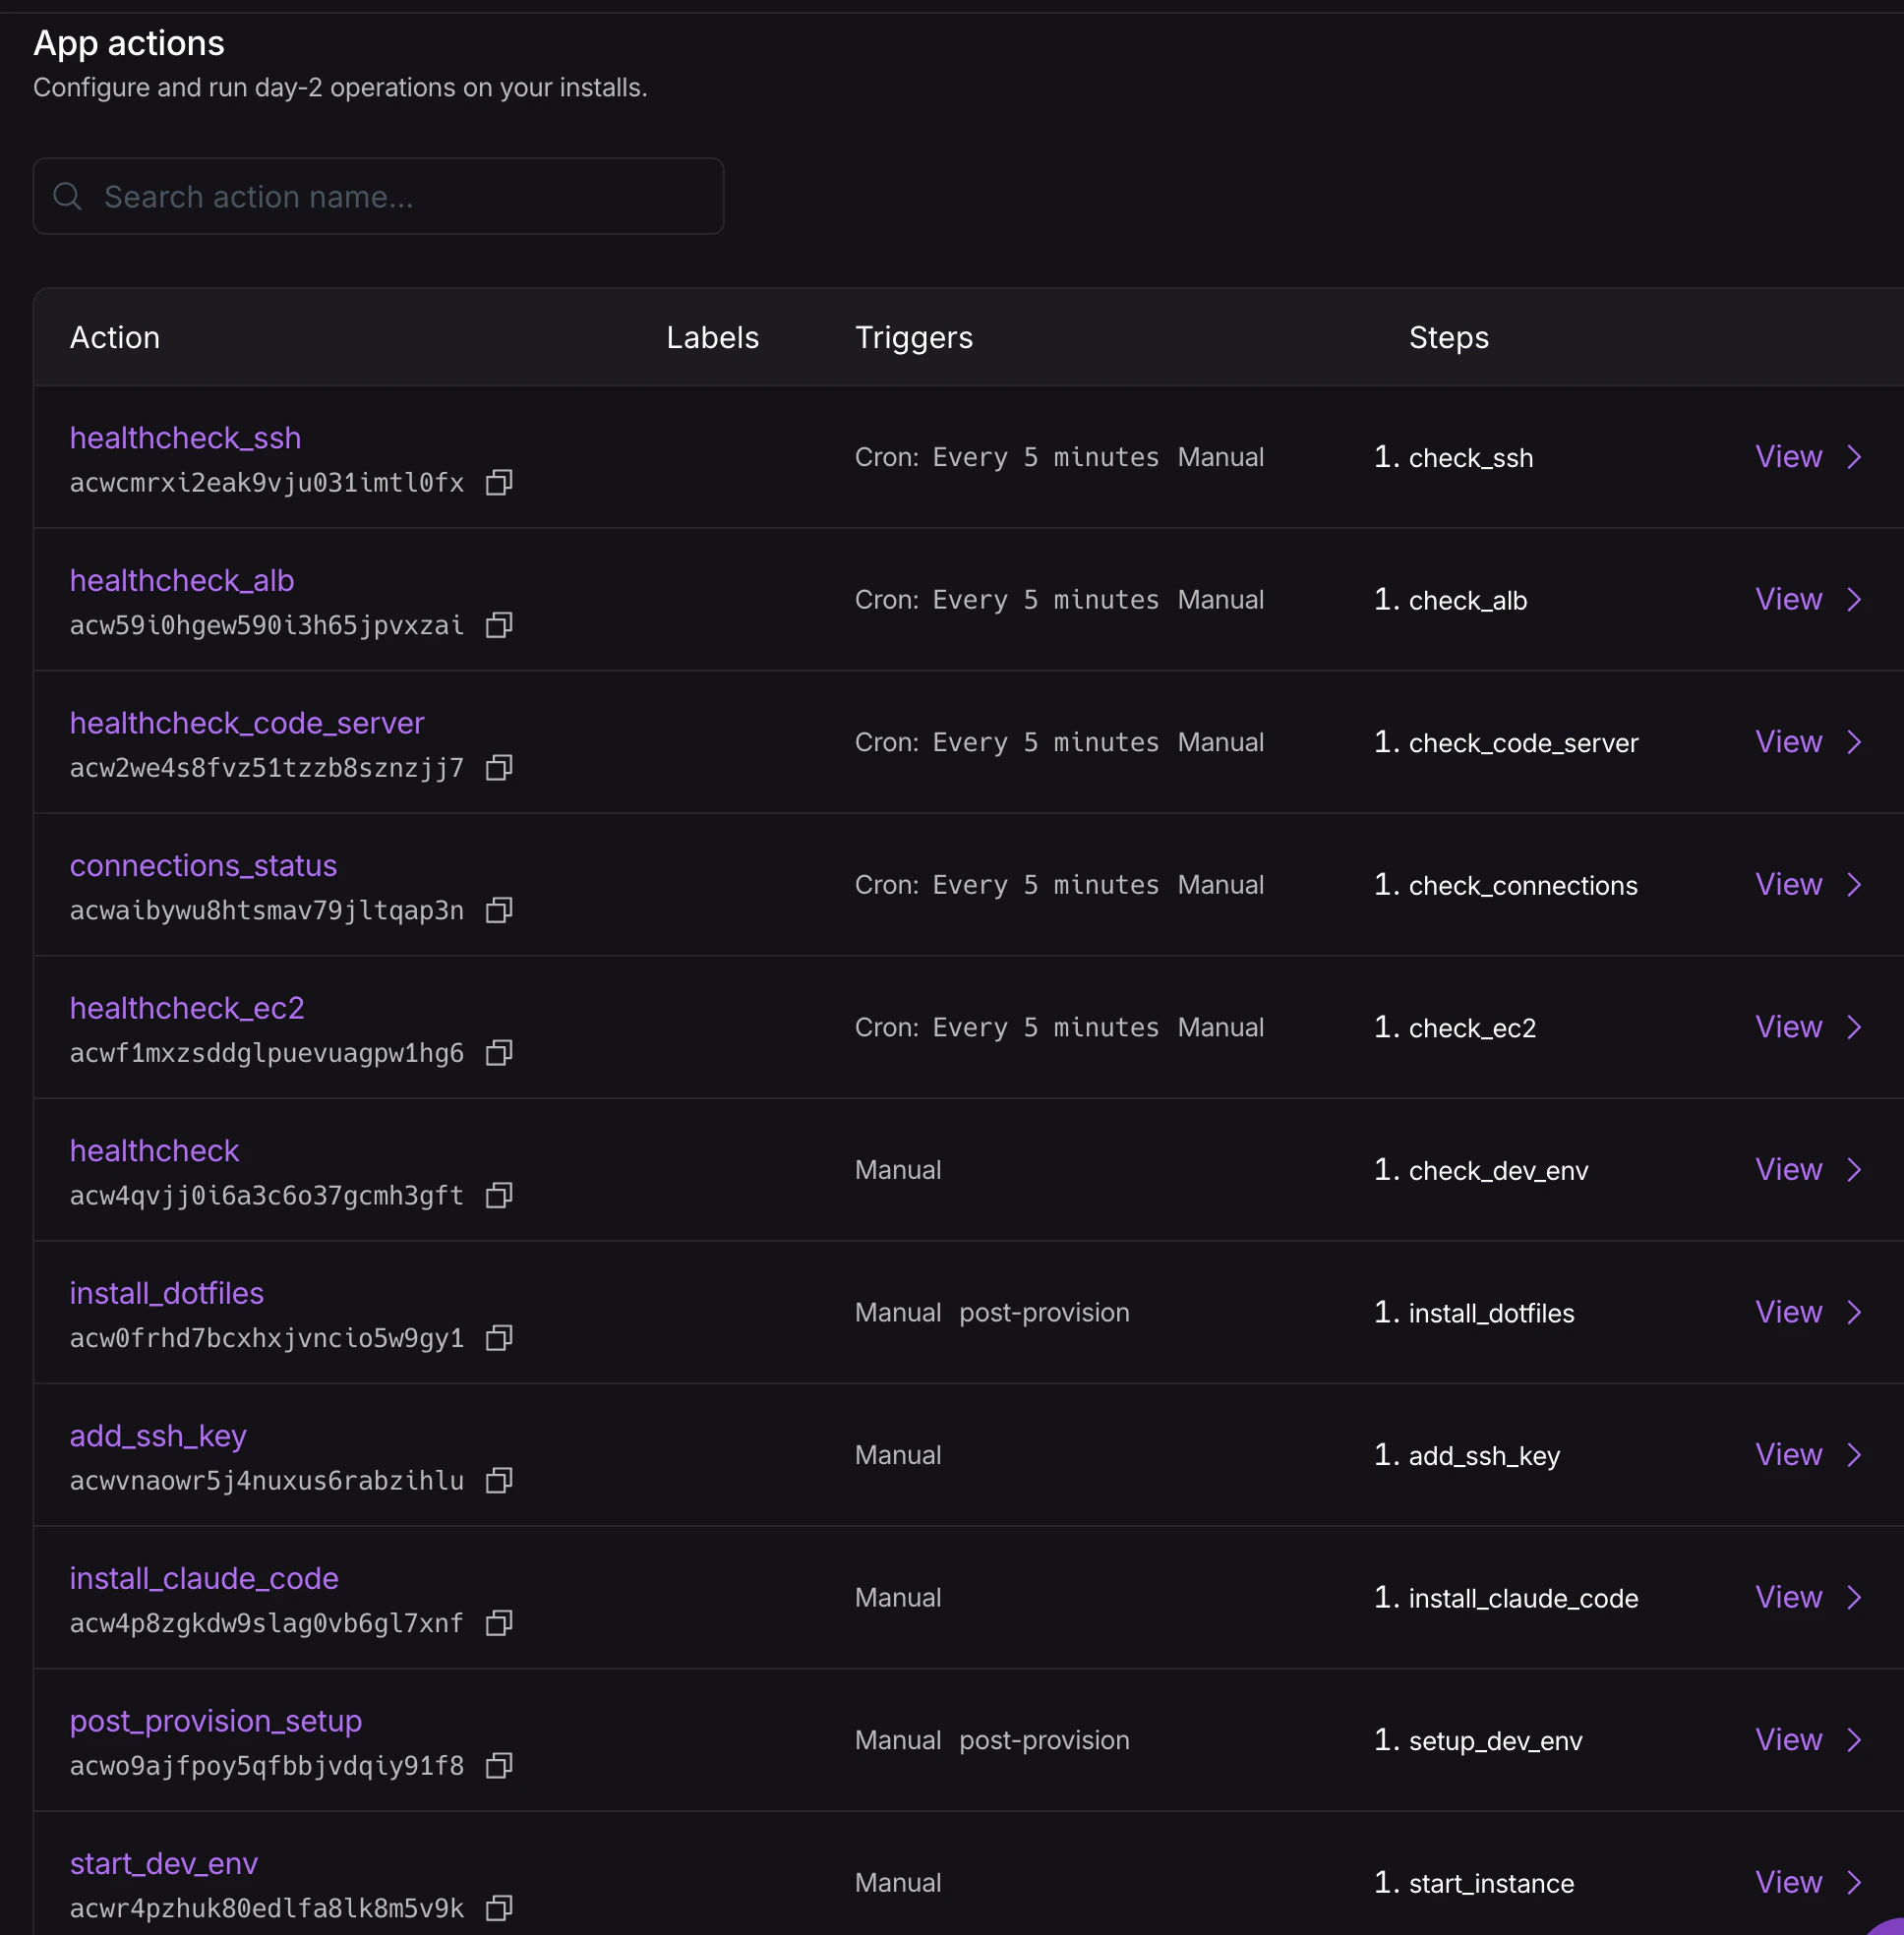
Actions
Actions are scripts that the runner executes on demand or on a schedule. They are how you handle day-2 operations — setup, maintenance, and monitoring — without requiring the customer to SSH into the instance themselves. This app includes the following actions:post_provision_setup— runs automatically after provisioning and is also re-runnable manually. Installs Docker, VS Code Web, and Claude Code based on the install inputs, configures git user name and email, and sets up the auto-stop cron jobs on the VM.install_dotfiles— clones the customer’s dotfiles repo to~/.dotfilesand runsinstall.sh. Triggered automatically after provision and re-runnable at any time from the portal.add_ssh_key— appends an additional SSH public key to~/.ssh/authorized_keys. Manual only.start_dev_env/stop_dev_env— start or stop the VM to control costs. Manual.healthcheck_ec2,healthcheck_ssh,healthcheck_code_server,healthcheck_alb,connections_status— run on a 5-minute cron and report their results in the install README.
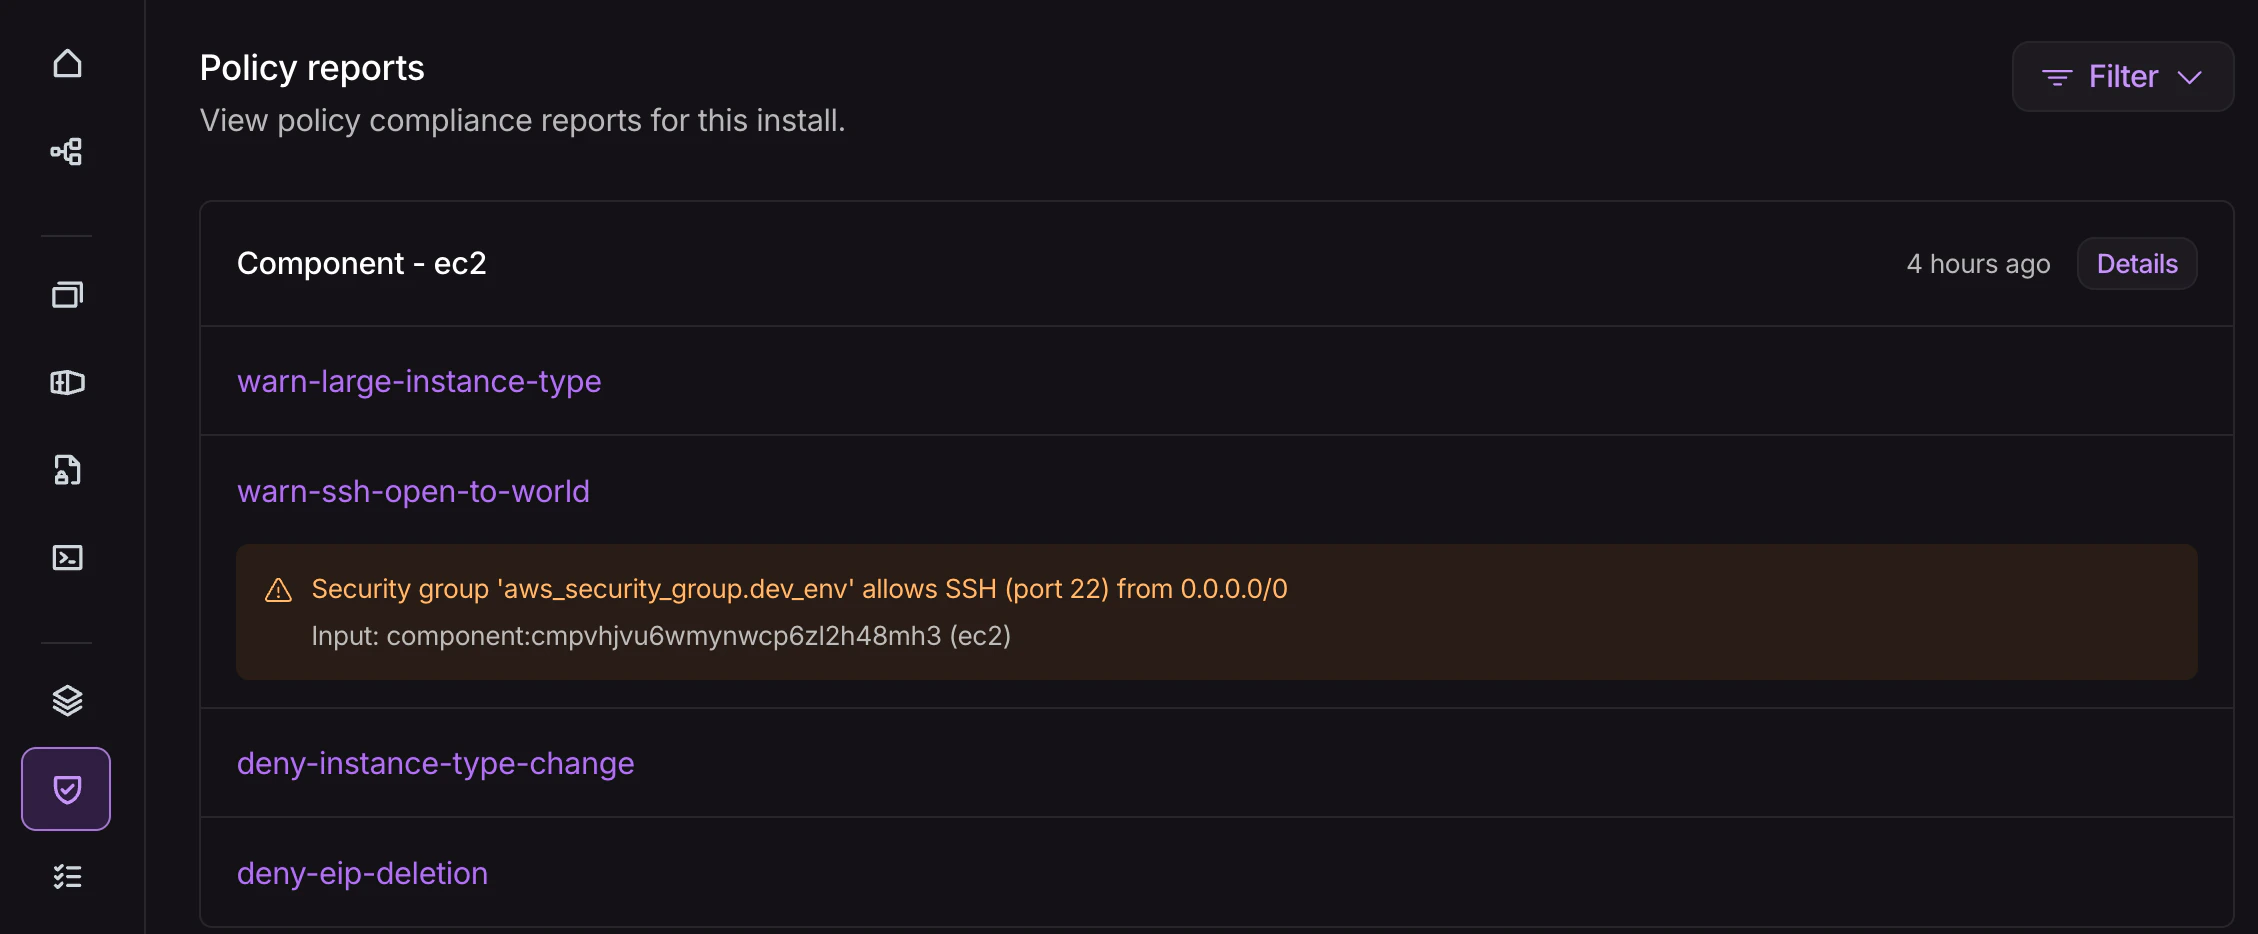
Policies
Policies let the vendor enforce guardrails on Terraform plans before they are applied to the customer’s account. This app ships four OPA policies scoped to theec2 component: two warnings and two hard denies.
warn-large-instance-type— warns if the instance type is larger thanmedium, prompting the vendor to confirm the cost is intentional.warn-ssh-open-to-world— warns if the SSH security group rule is open to0.0.0.0/0, flagging a potential overly permissive configuration.deny-eip-deletion— blocks deletion of the Elastic IP unless the EC2 instance is also being destroyed in the same plan, preserving DNS stability.deny-instance-type-change— blocks in-place instance type changes, which would require a stop/start and could cause unexpected downtime.
Security
The CDE app is designed so that the customer’s data never leaves their AWS account and the vendor has no network access to the instance. A few specifics worth understanding:- SSH key auth only. Password authentication is disabled at provision time. The public key the customer provides at install time is the only authorized key.
- Minimal inbound surface. The security group allows only TCP:22. If VS Code Web is enabled, HTTPS:443 is also opened via an ALB — but the security group only allows ALB traffic to reach port 8080 on the instance, not direct inbound access. Post-provision setup (Docker, VS Code Web, Claude Code) is delivered by the runner via AWS SSM Run Command, an outbound-only control channel, so no additional ports need to be opened for provisioning.
- VS Code Web is TLS-only and password-protected. If enabled, code-server runs on port 8080 inside the VPC. The ALB terminates HTTPS with an ACM-managed certificate, and only ALB traffic is allowed to reach the port — direct inbound access is blocked.
- Anthropic API key is stored as an SSM SecureString. The key is encrypted at rest with AWS KMS in the customer’s account. The EC2 instance profile is granted least-privilege access to read only its own parameter path. The vendor never sees the key.
- Runner permissions are bounded. The runner’s IAM role has a permissions boundary scoped to
only the AWS services this app requires:
ec2,iam,ssm,elasticloadbalancing,acm, androute53. It cannot access other resources in the customer’s account.
Sync App to Nuon
You now have a complete Nuon app. This is a good place to stop and sync it to Nuon. Make sure you are in the root directory of your app, then run: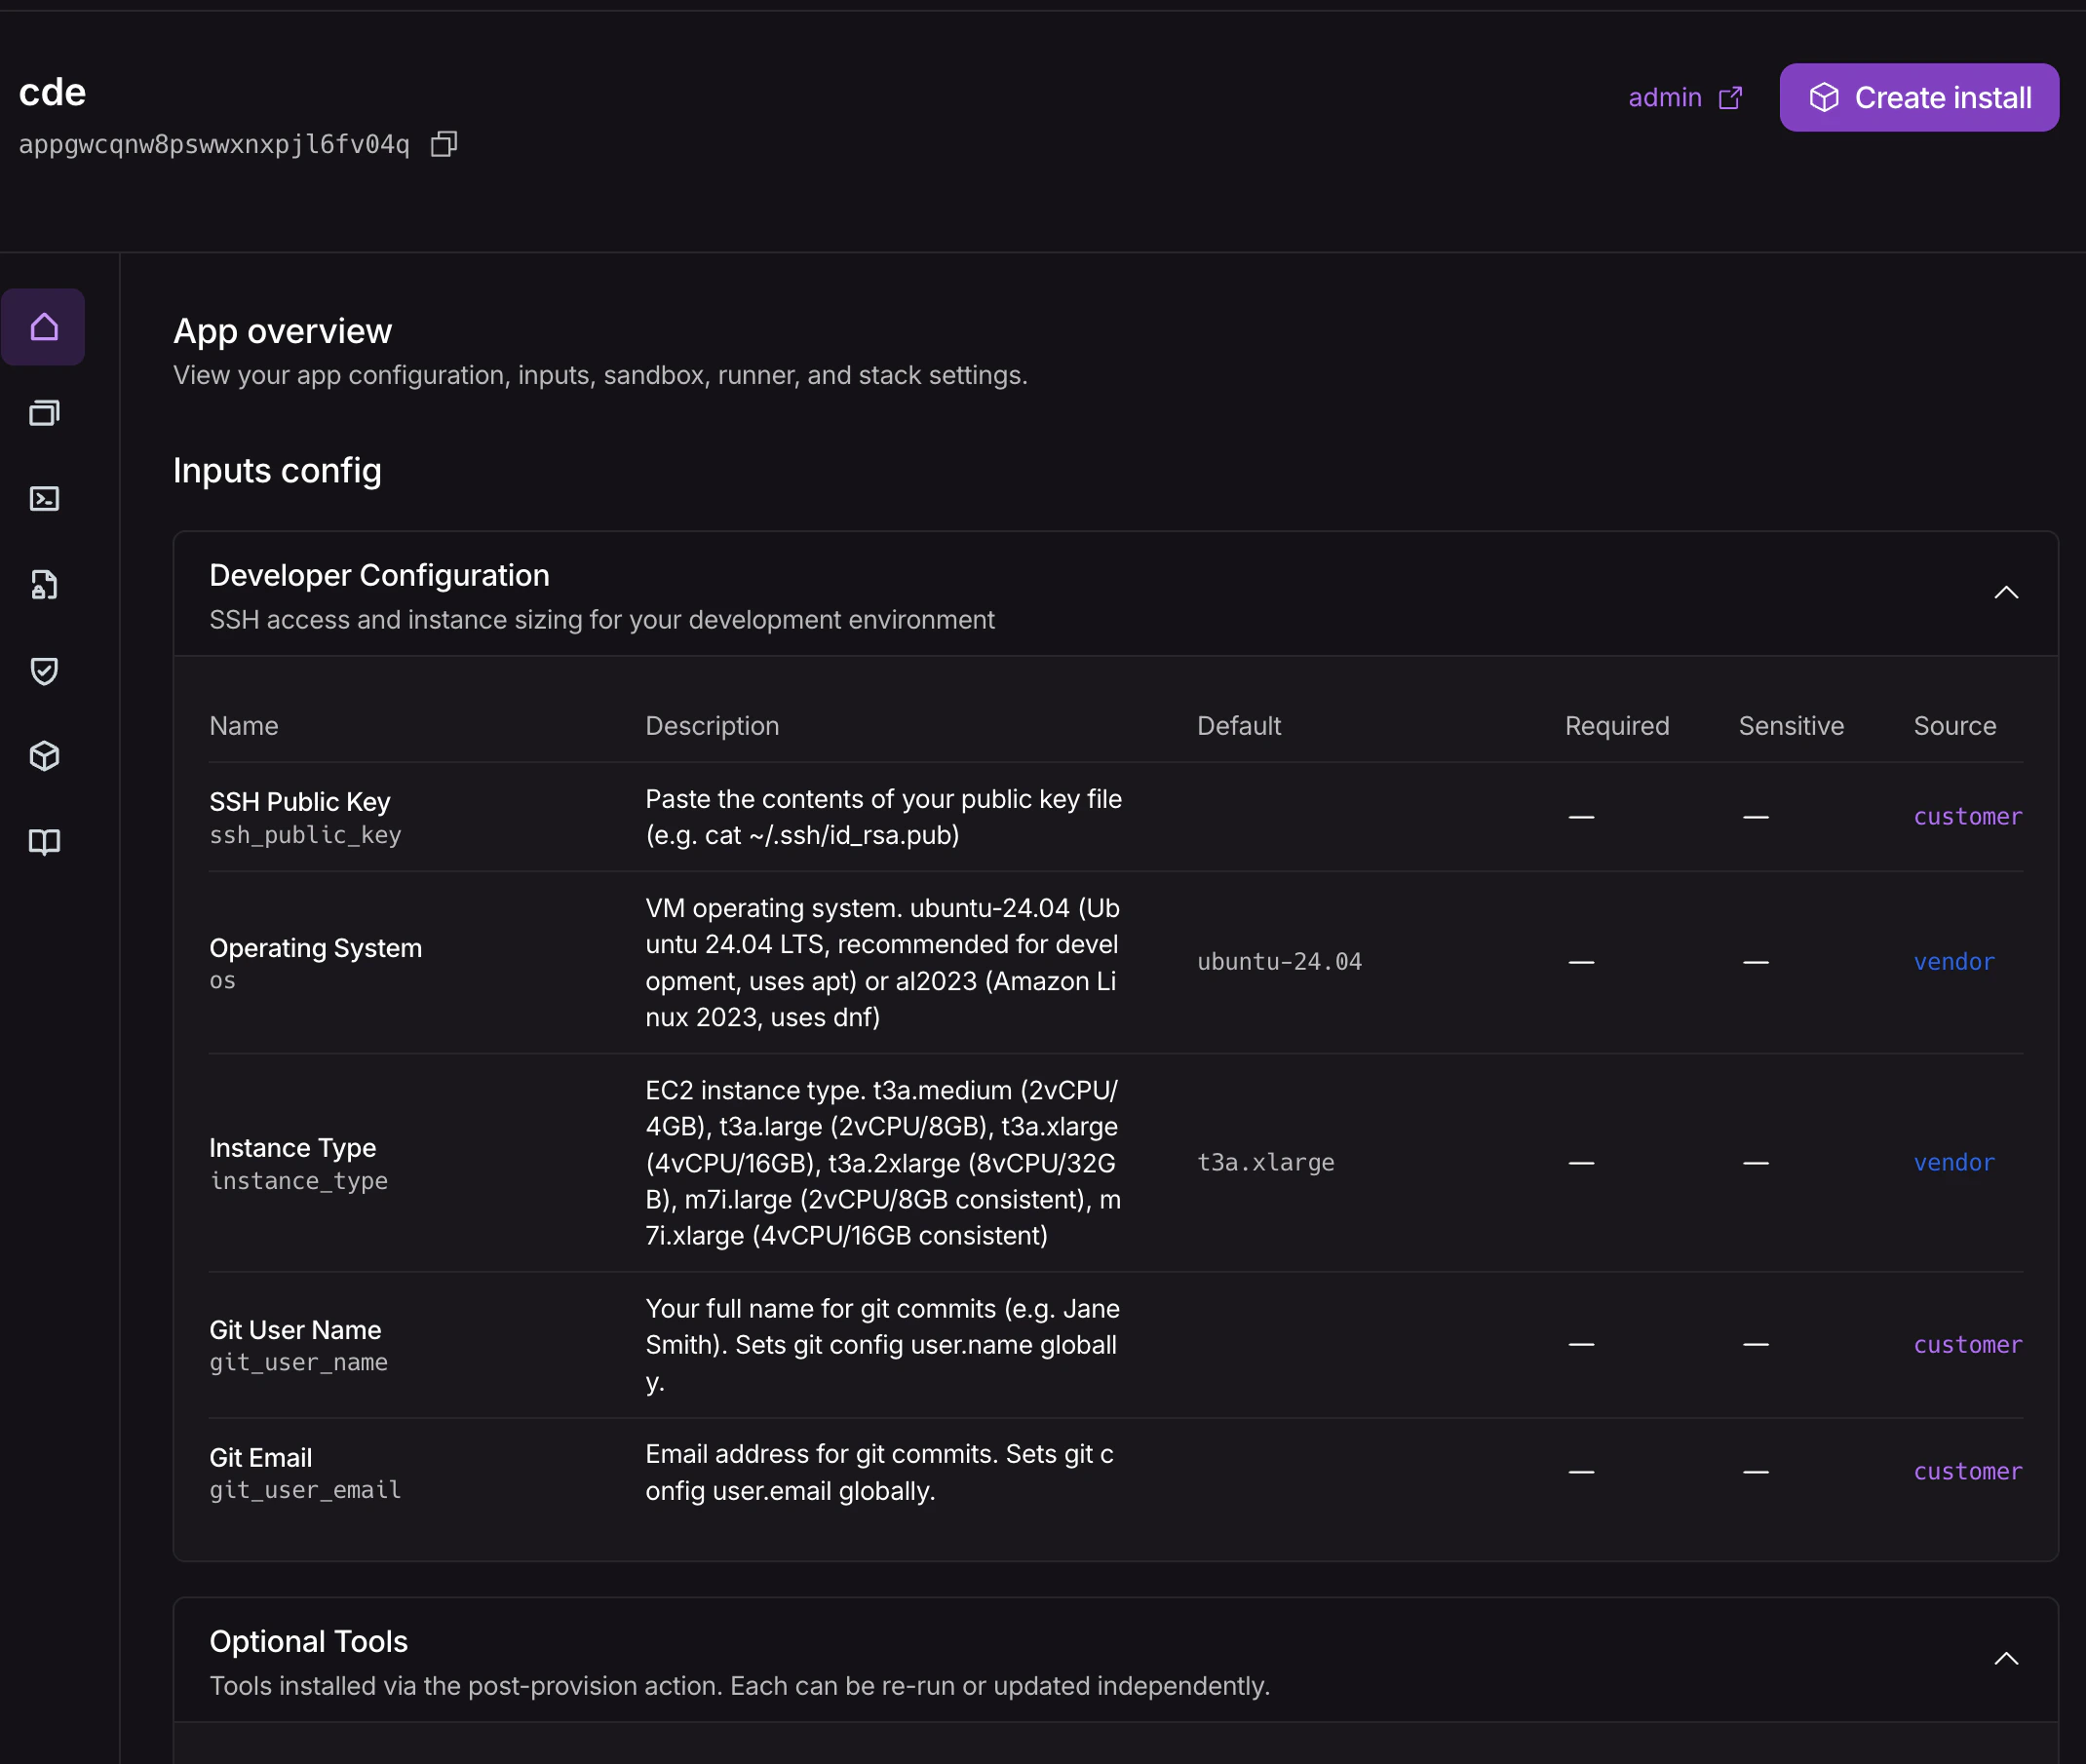
Create an Install
Click the Create Install button in the top right corner of the app page in the Dashboard. Give your install a name and choose an AWS Region. Notice the inputs you defined in theinputs.toml file are displayed here. Two fields
require values from the customer: ssh_public_key (paste the output of cat ~/.ssh/id_rsa.pub)
and vscode_password (set it now so it is ready if you enable VS Code Web later). You can
accept the defaults for all other inputs.
Click the Create Install button at the bottom of the page to start the workflow.
The provision workflow generates two install stack formats — a CloudFormation
Quick-Create / CLI snippet, and Terraform inputs.auto.tfvars and secrets.auto.tfvars files for the
install-stacks/aws module — so the
customer can apply whichever fits their tooling.
Monitoring Installs
As soon as you kick off the install provisioning, you should see the new install’s workflow in the dashboard.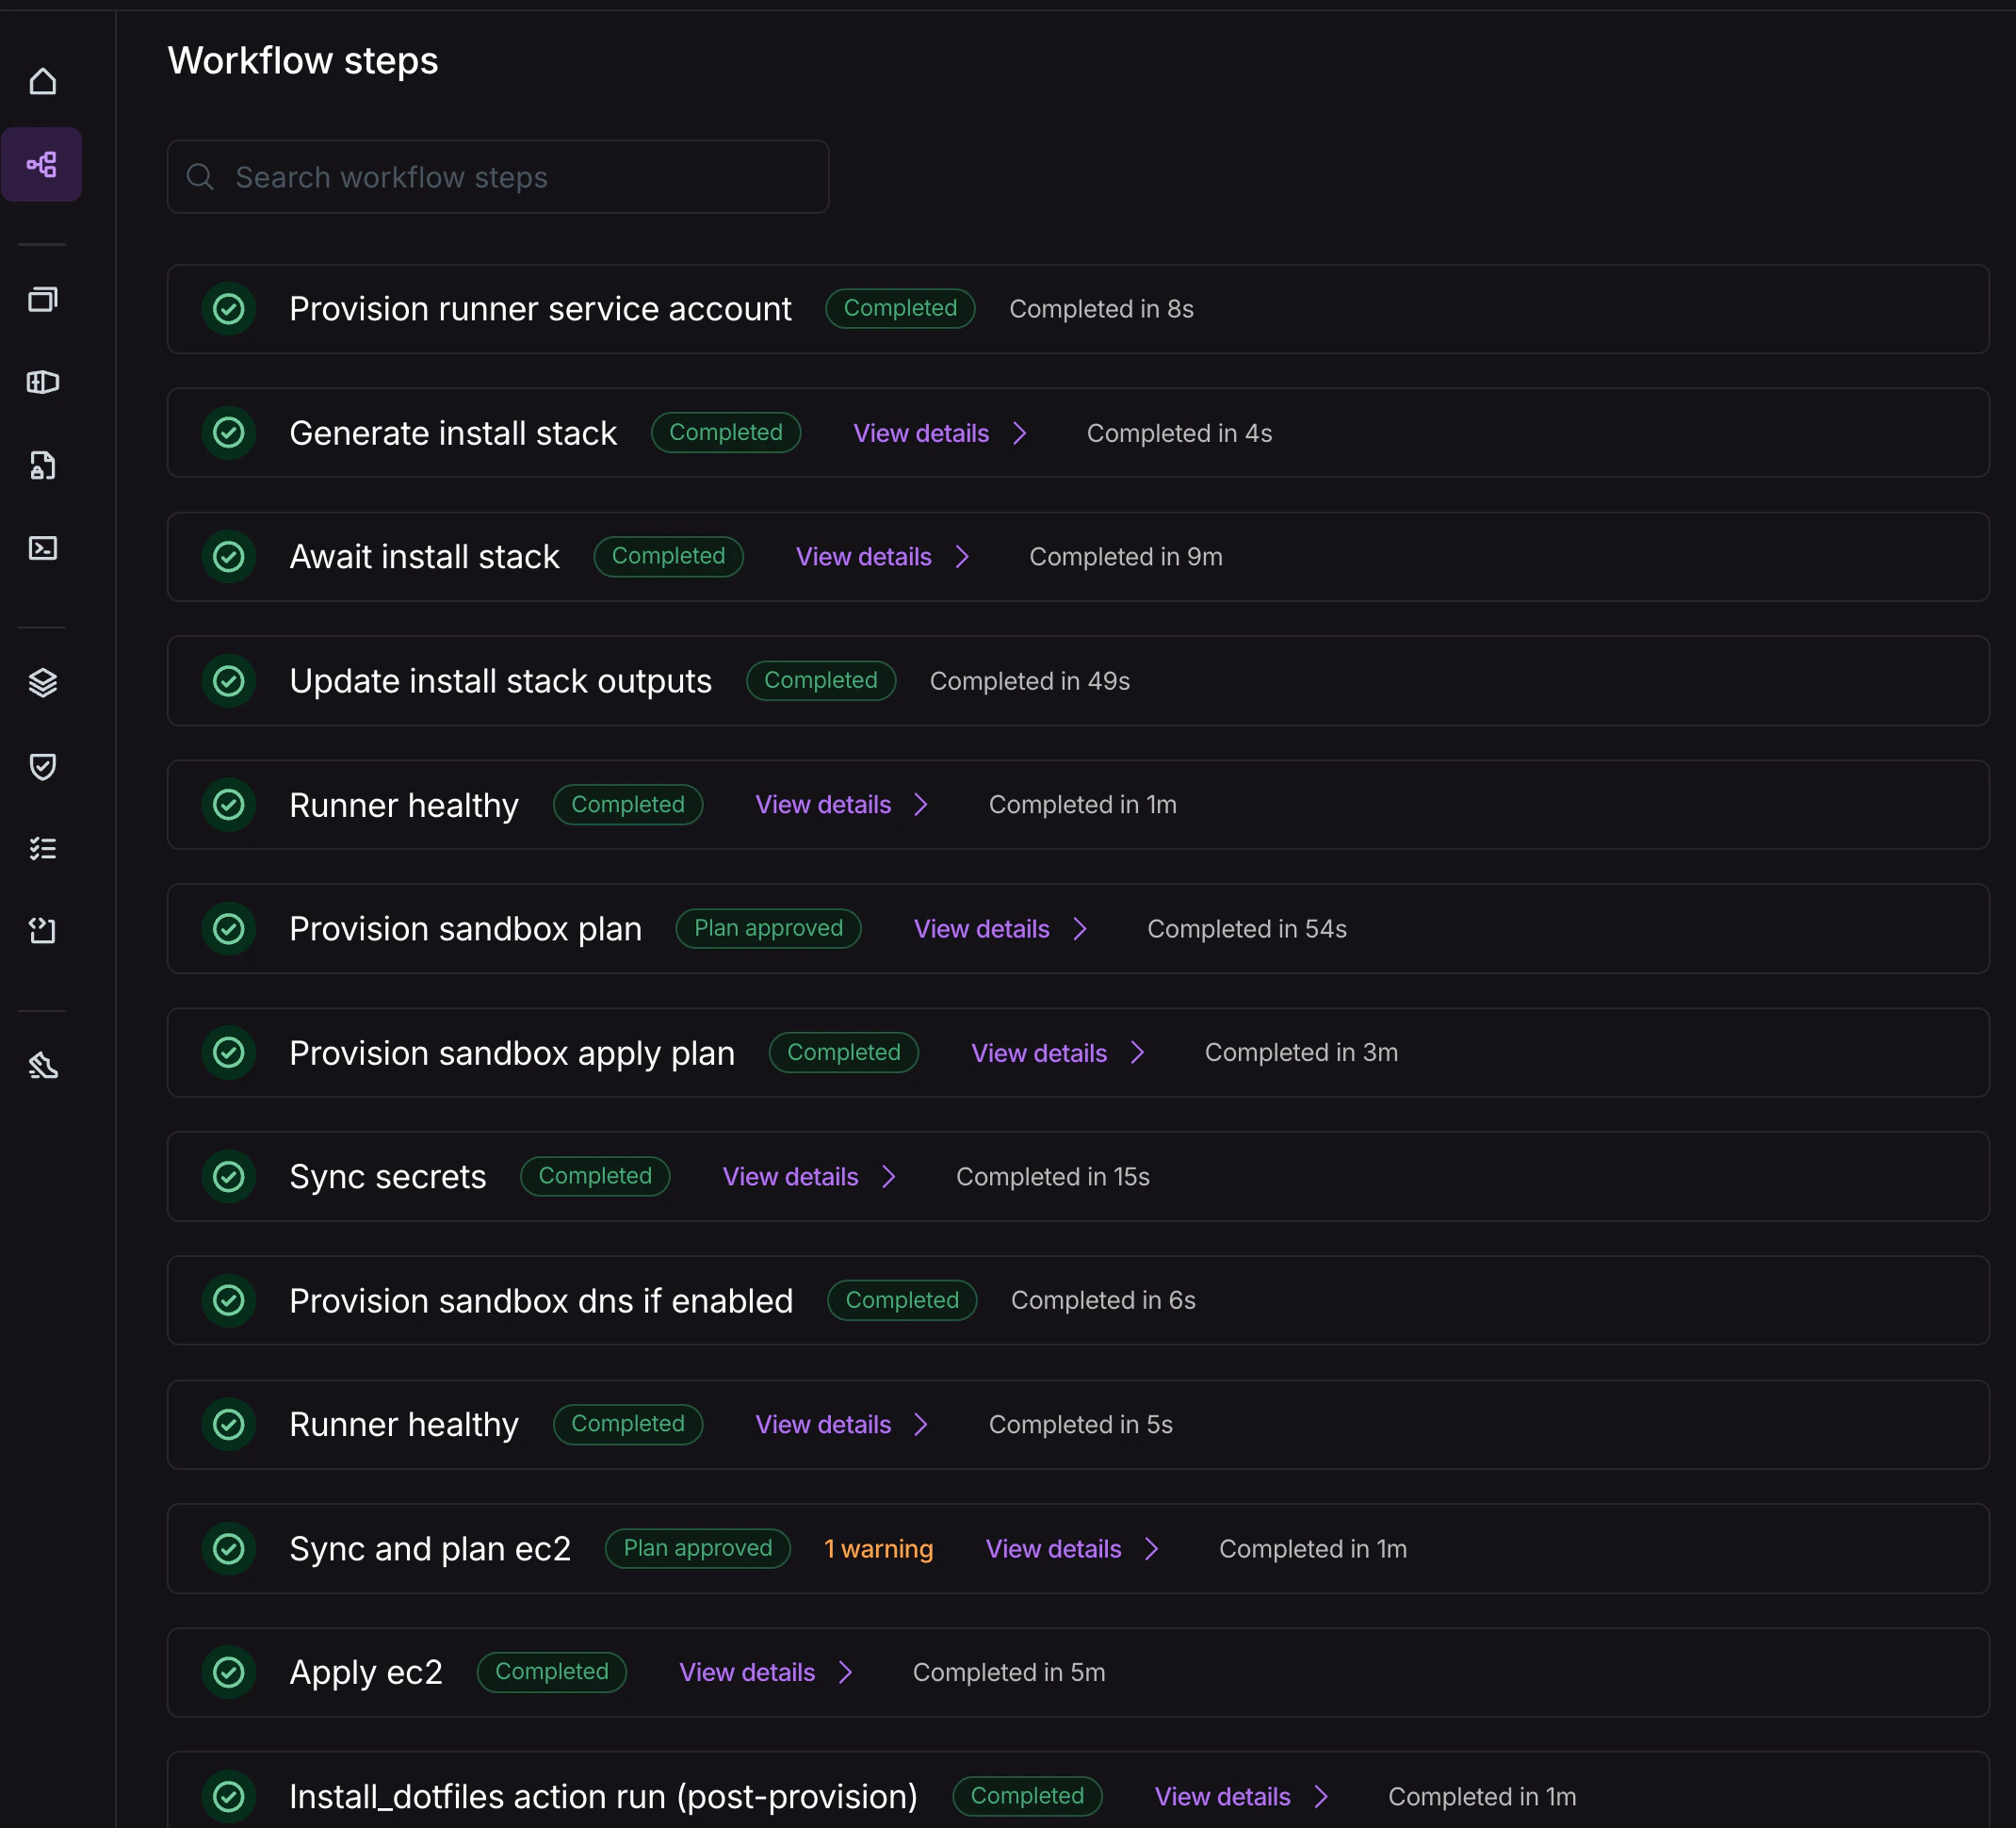
Apply the Install Stack in AWS
In this step, you are switching personas, from the software vendor to the end customer, authorizing the install of the app in your cloud account. Apply the install stack using whichever format fits your workflow. Either way, the resulting resources are the same: a VPC, the IAM policies Nuon expects, an Autoscaling Group, and a VM running the Nuon Build Runner that will provision the install of your app.Option A: CloudFormation
Click or copy the CloudFormation Quick-Create link to open it in your AWS account and log in. The form will include the customer inputs defined ininputs.toml — required fields like ssh_public_key and vscode_password
are marked as required and must be filled in before the stack can be created.
Scroll to the bottom, accept the IAM acknowledgement, and click Create Stack.
Option B: Terraform
Download the generatedinputs.auto.tfvars and secrets.auto.tfvars files from the
dashboard, set up a backend.tf (snippet provided in the dashboard), and run:
install-stacks/aws module.
Monitor the Install Stack creation in AWS
Monitor the stack creation in the AWS console (CloudFormation) or the Terraform output. This will take a few minutes to complete. You can also pull up the AWS EC2 console and see the EC2 VM appear at some point with the install id in its name. The Nuon Dashboard will not provide feedback until the runner is up and connected to Nuon.Monitor the Remainder of the Install Workflow
If plan steps require approvals, you will need to approve them in the dashboard. You can also monitor the progress of the install in the dashboard.Connect to Your Development Environment
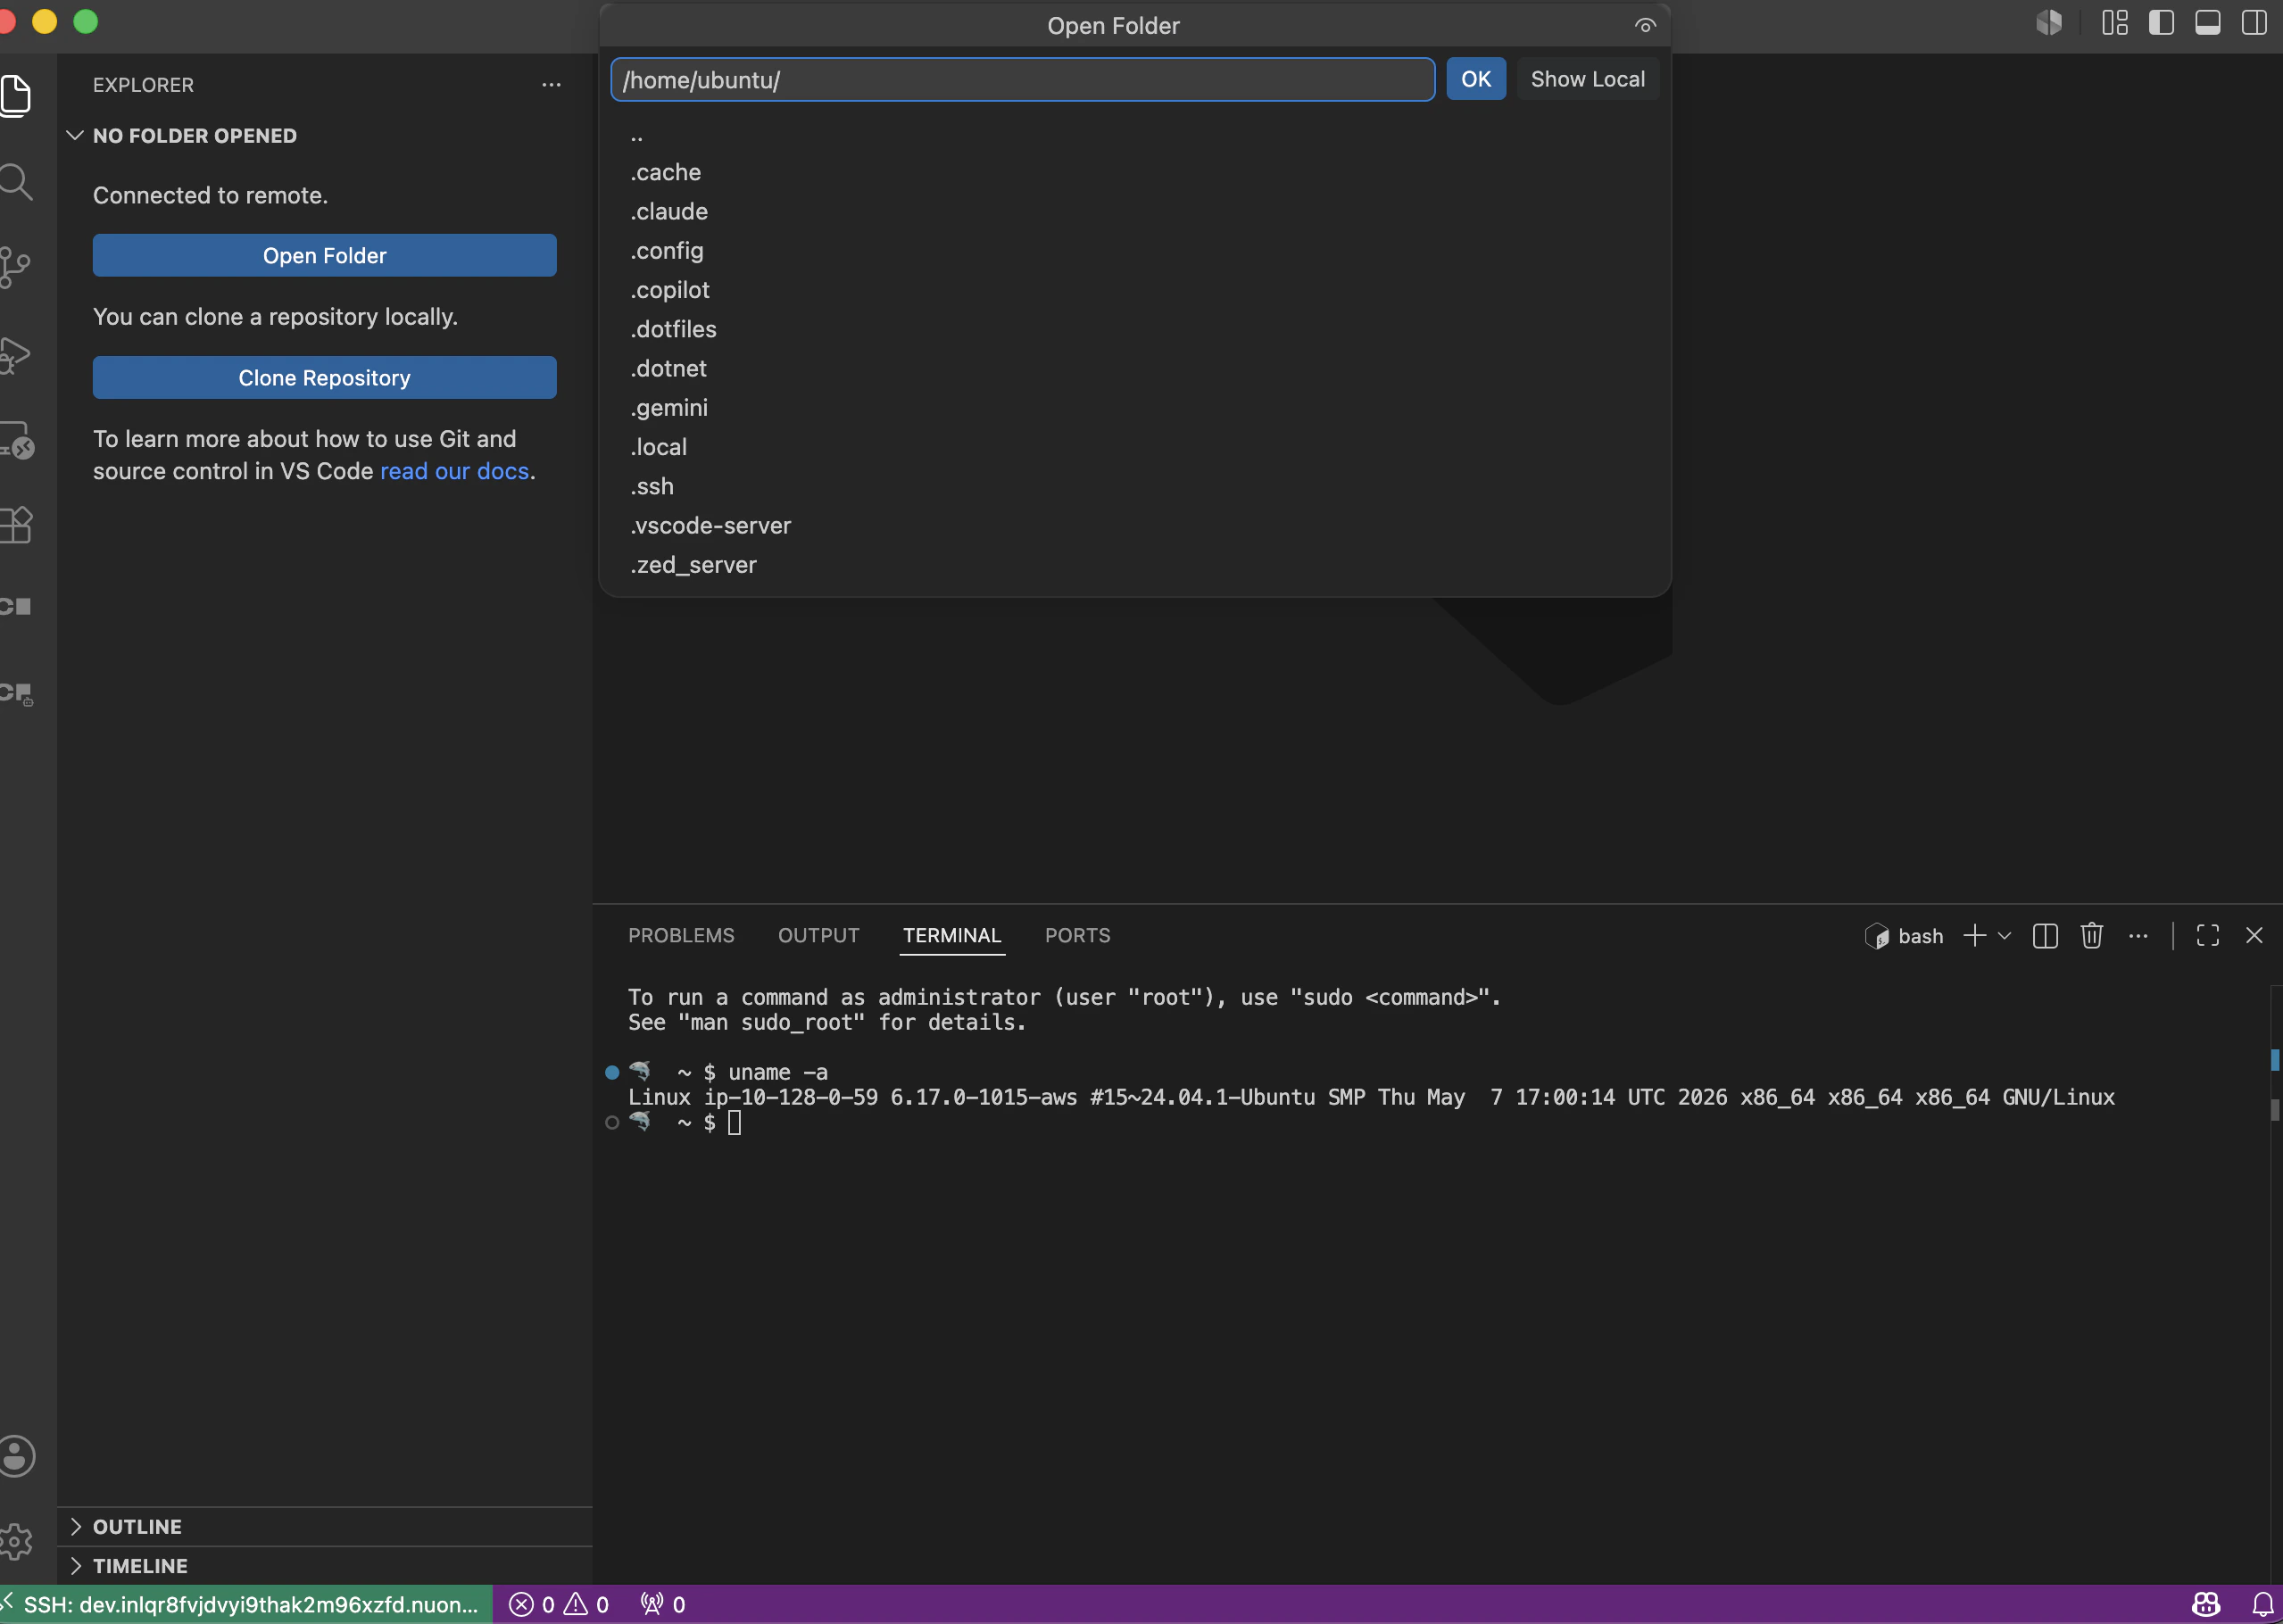
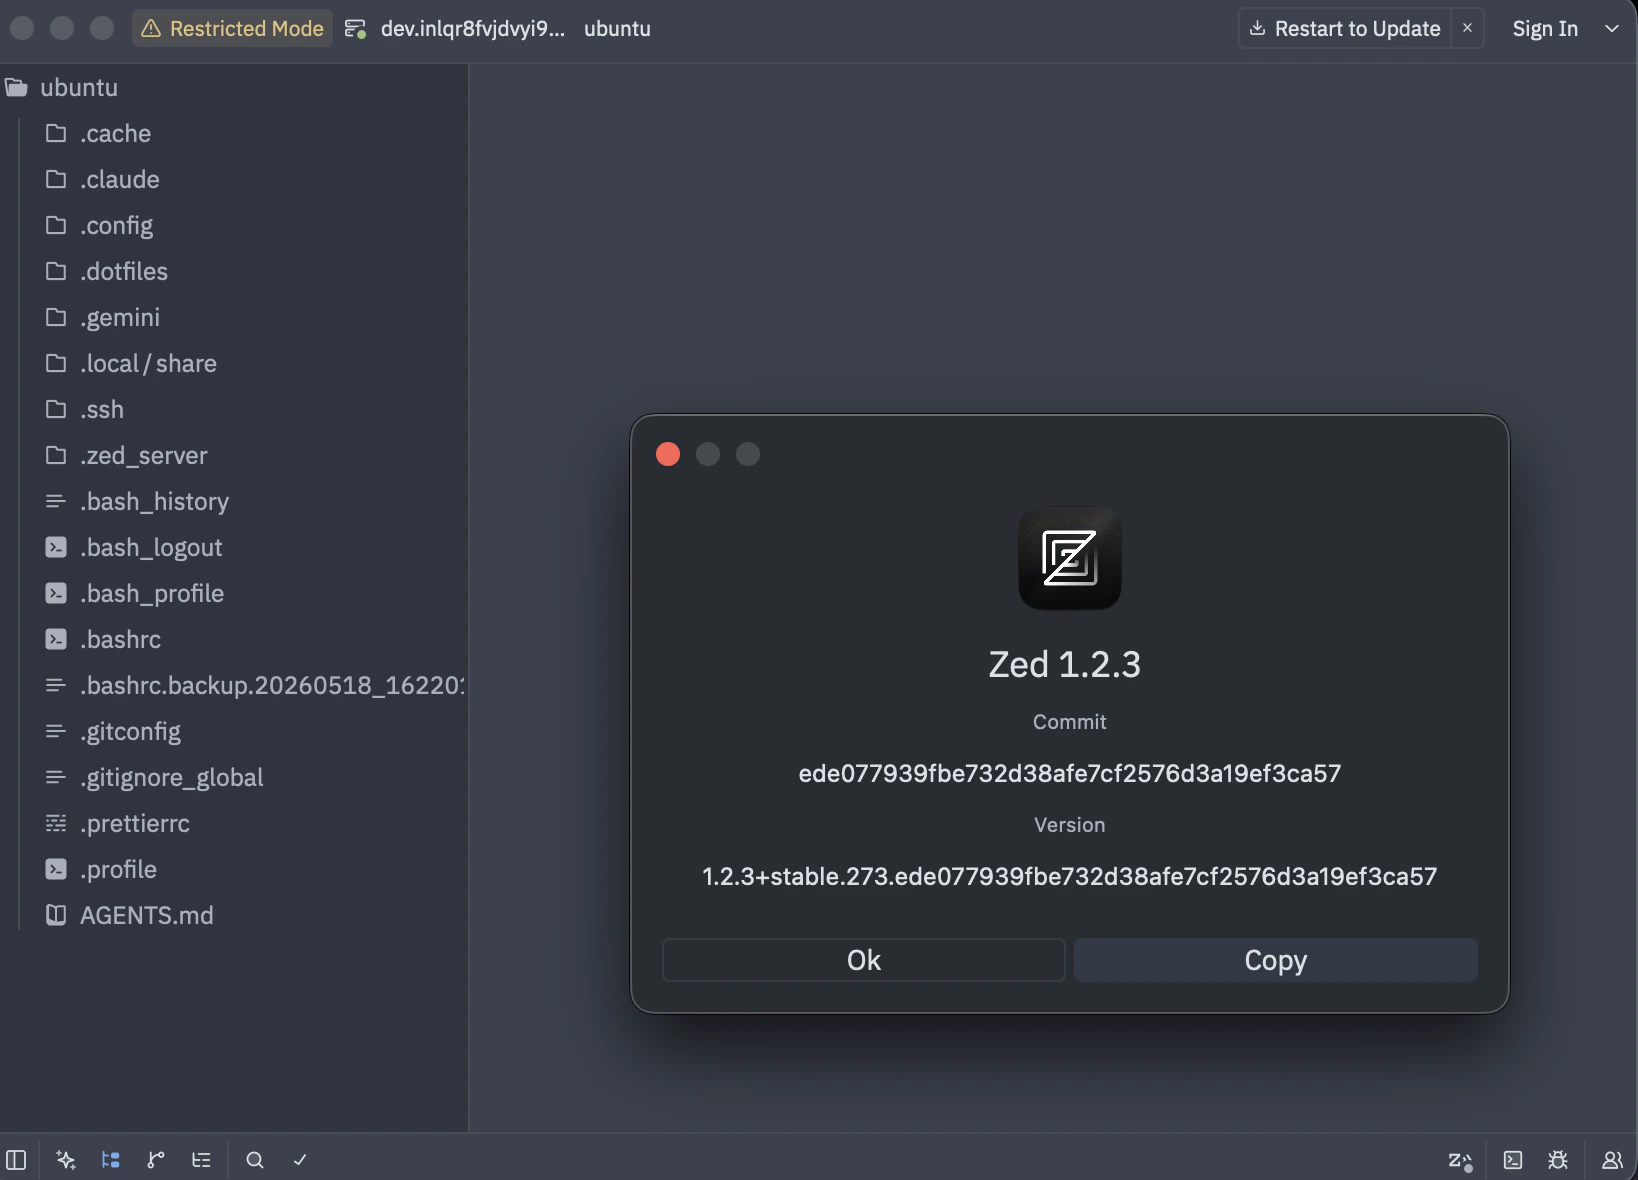
When the install has provisioned and the deploys have completed, open the install page in the dashboard. The README tab shows the connection strings for your instance, populated with the actual hostname and SSH user once provisioning is complete. SSH: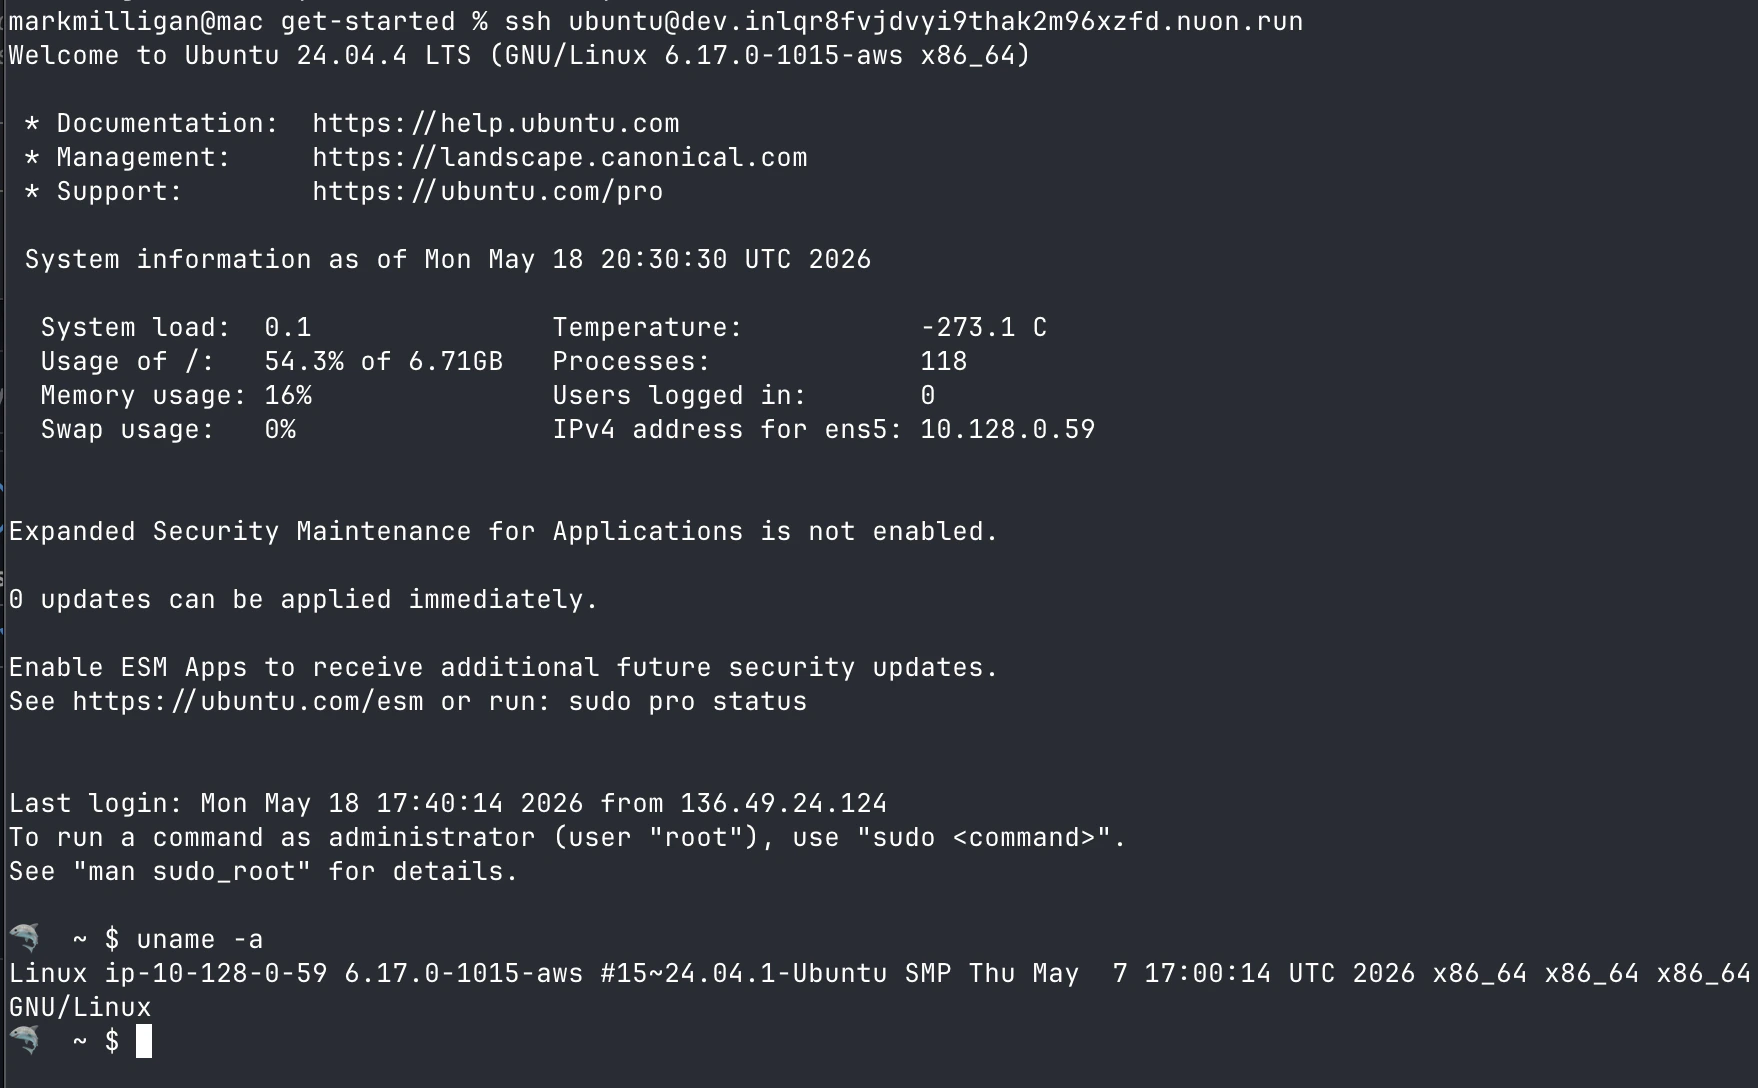
Cmd+Shift+P → Remote-SSH: Connect to Host → enter the same <user>@<hostname>.
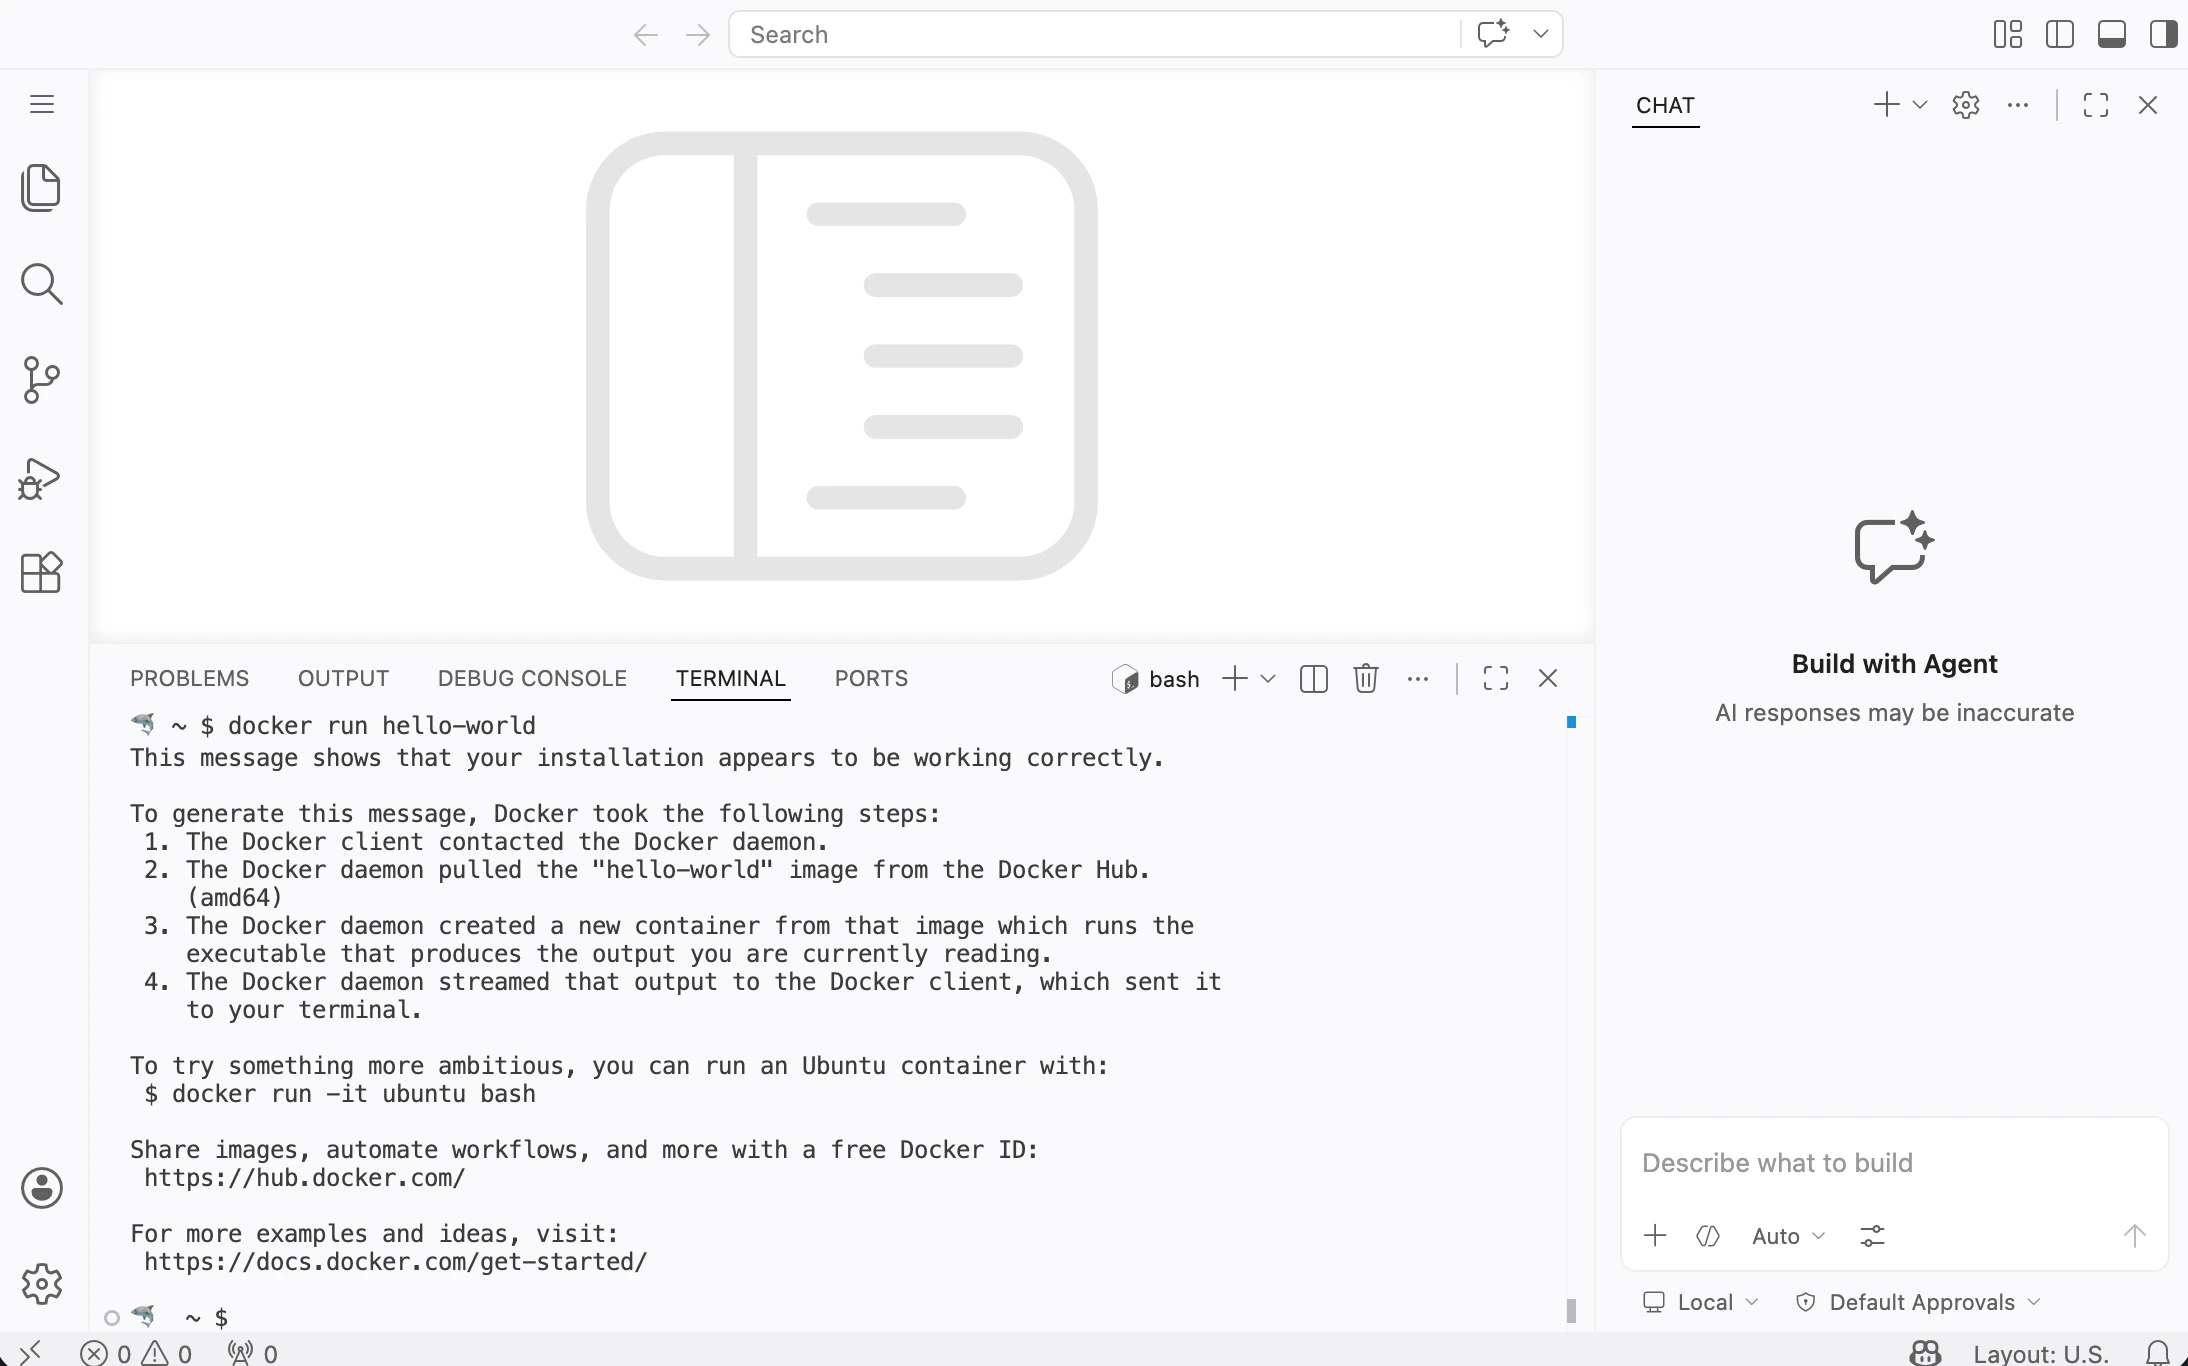
vscode_password input.
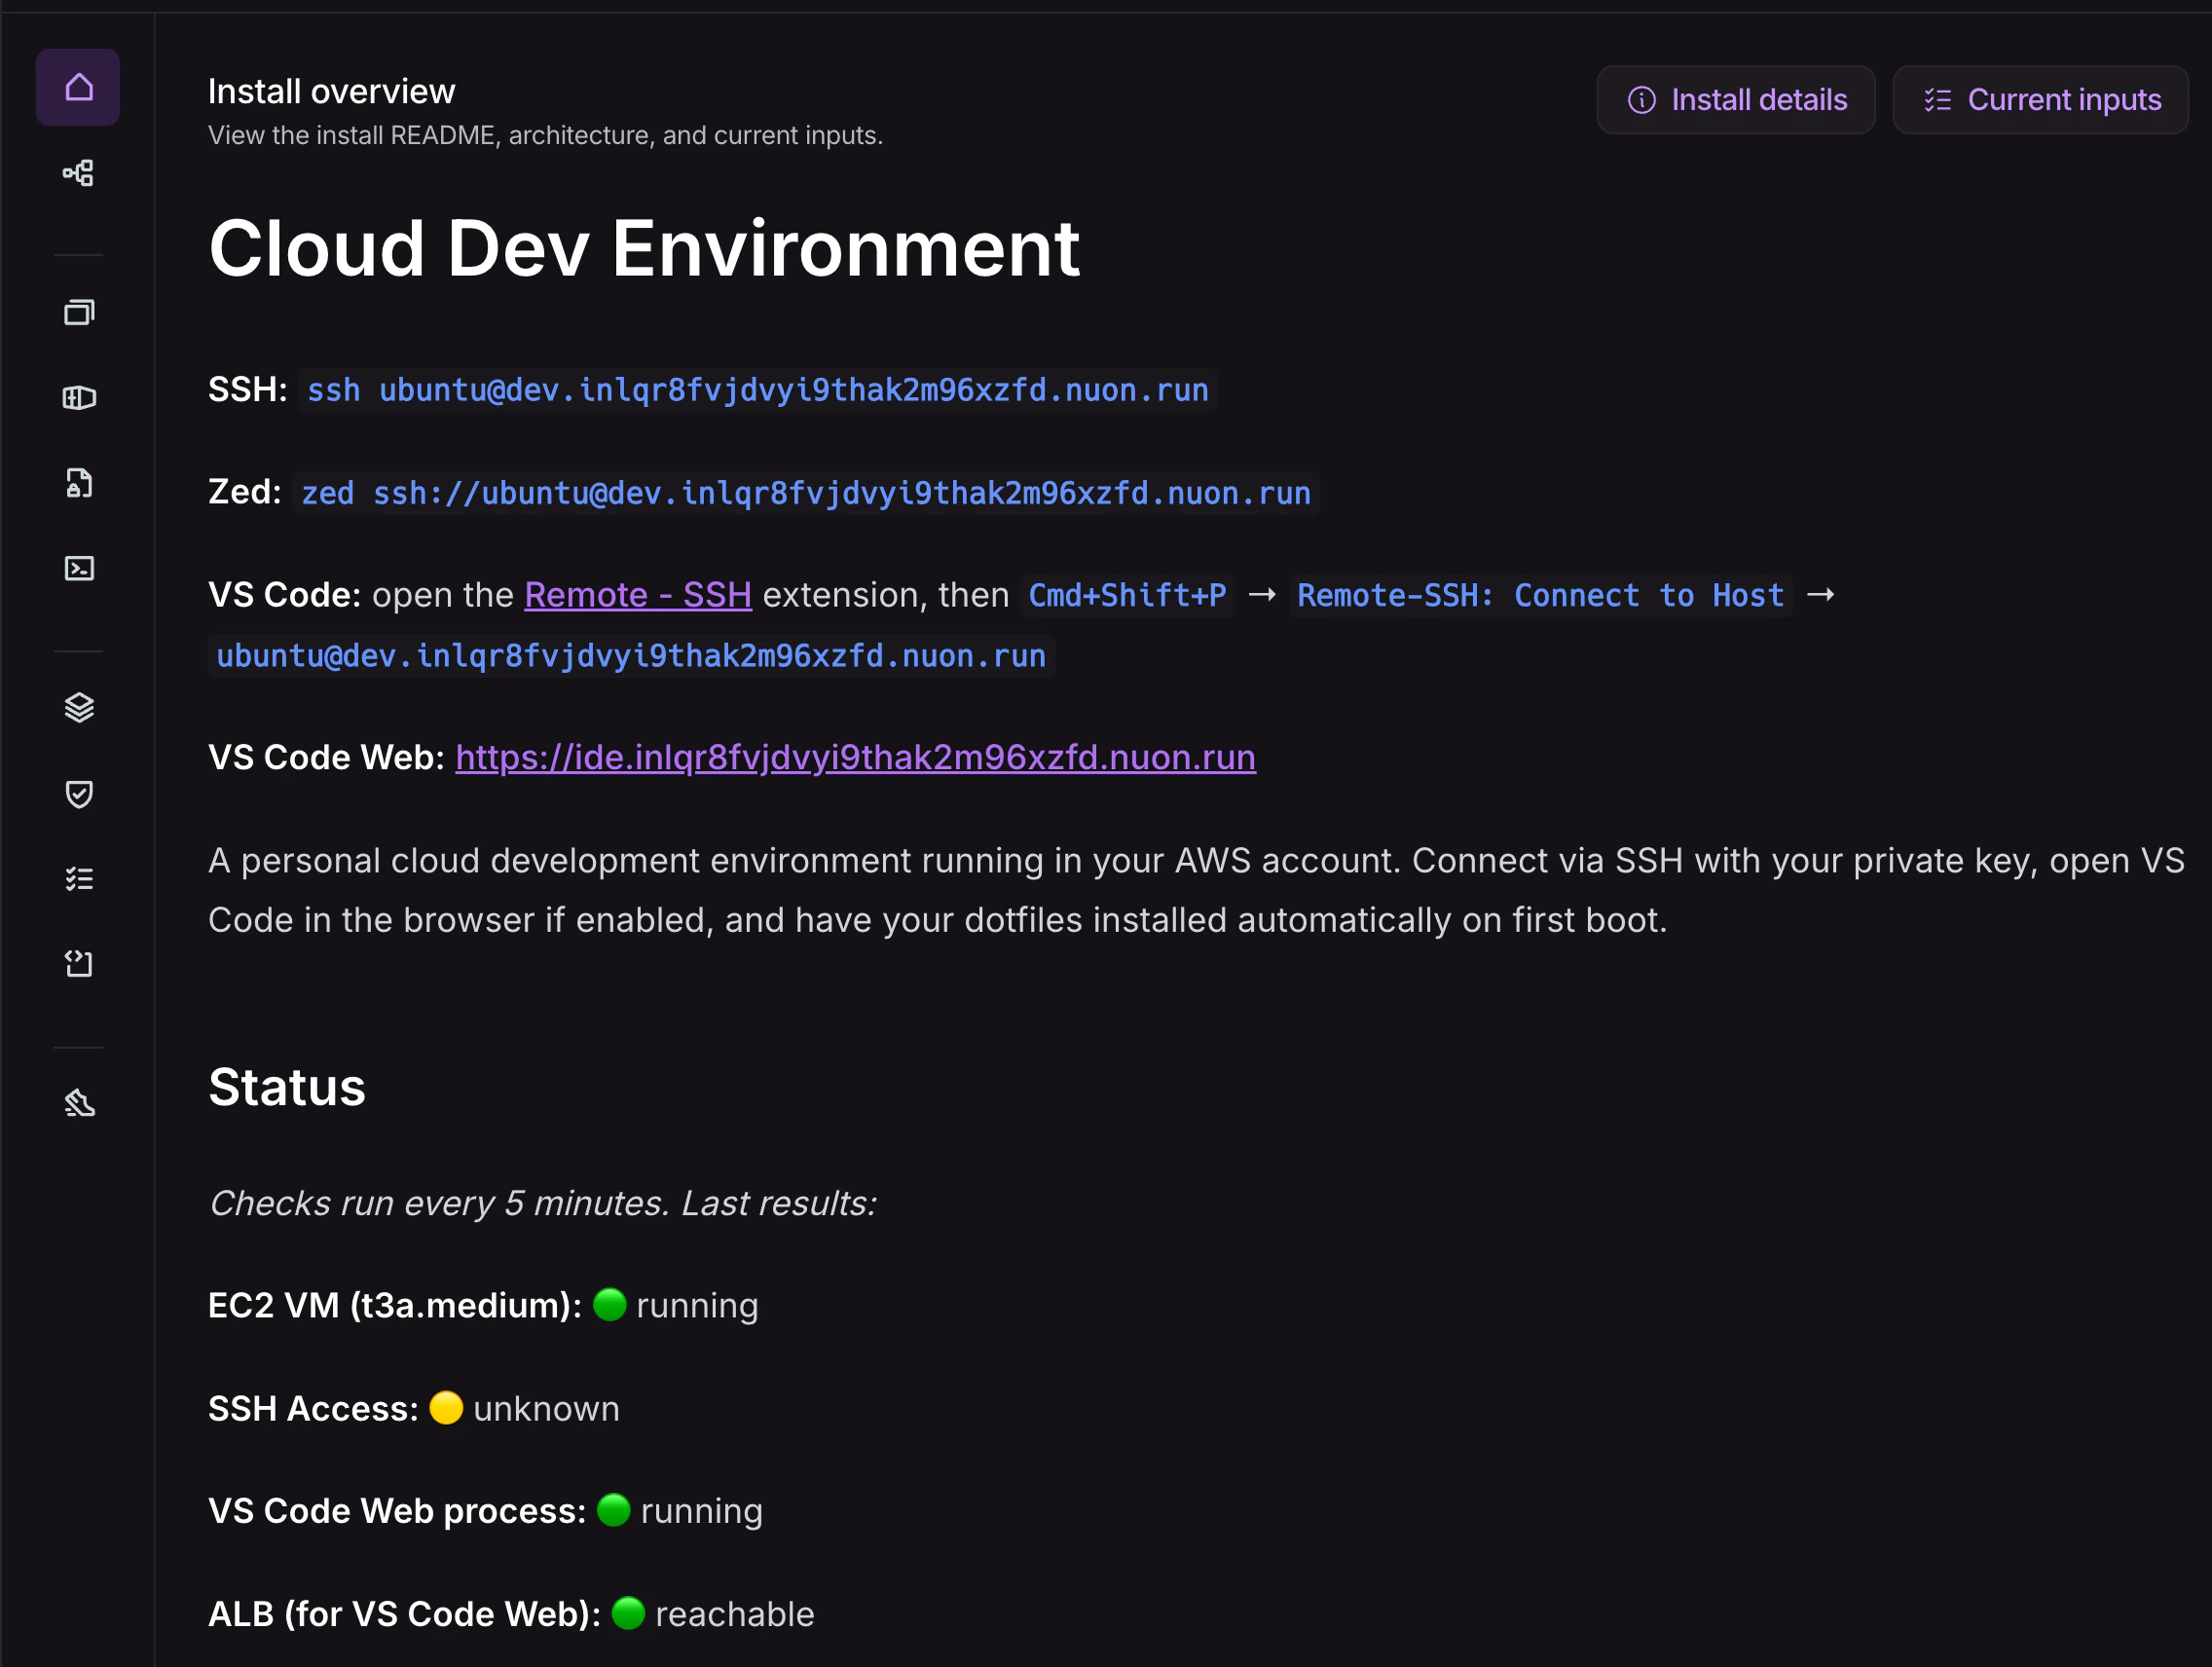
Observability
The install page displays a live README rendered fromREADME.md in the app root. It uses Go templating to read action outputs and display the current state of the VM and its services. The five healthcheck actions — healthcheck_ec2, healthcheck_ssh, healthcheck_code_server, healthcheck_alb, and connections_status — run on a 5-minute cron via the runner and write their results to action outputs. The README template reads those outputs via {{.nuon.actions.workflows.*}} interpolations to show a per-service status summary, active SSH session count, and connected client IPs. No additional monitoring infrastructure is needed — the runner handles execution via SSM and the results surface directly on the install page.
Cost Controls
Two automatic shutdown mechanisms are installed as cron jobs bypost_provision_setup, controlled by install inputs:
- Inactive auto-stop (
auto_stop_inactive_hours, default 2h) — monitors active SSH and VS Code Web connections every 10 minutes and shuts down the VM after N consecutive hours with no active sessions. - Force auto-stop (
auto_stop_max_hours, default 4h) — shuts down the VM after N hours of total uptime since last start, regardless of activity.
stop_dev_env and start_dev_env actions provide manual control. The Elastic IP and Route53 DNS record persist through stop/start cycles, so the SSH hostname never changes.
Deprovision the Install
Nuon is mindful of your public cloud spend, so provide the following deprovisioning steps. Deprovisioning the install is a two-step process. First, deprovision the install in the Nuon dashboard, which will tear down the EC2 instance and all associated resources. Once that is completed successfully, tear down the install stack — delete the CloudFormation stack in the AWS console, or runterraform destroy against the install module — to remove the
runner by destroying the EC2 VM, ASG, and VPC.
Be sure to back up any data you want to keep before deprovisioning the
install, as this will delete all resources created by the install.
Manually Deprovision the Install
If deprovisioning the install in the dashboard fails, tearing down the install stack — deleting the CloudFormation stack in AWS, or runningterraform destroy
against the install module — will delete all of the component resources and the
VPC.
Wrapping Up and Next Steps
Congratulations, you just deployed a Cloud Development Environment to AWS! A few suggestions for where to go next:- Review other example apps in the example-app-configs repository to see how to deploy a more complex app.
- Dig into our app guide to learn how to configure more complex apps.